To configure an Authorize.net account, you will need an active account with Authorize.net
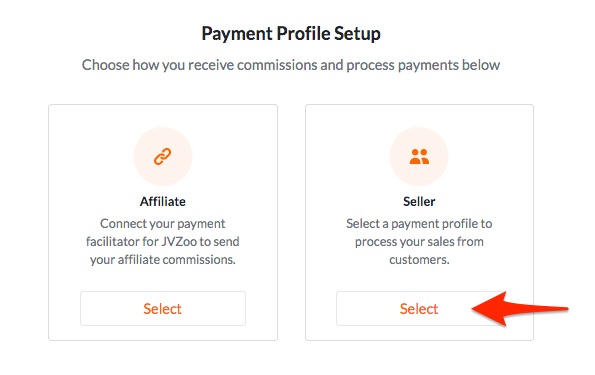
To connect your Authorize.net account, go to My Account > Payment Profiles or click here. Click the “Select” button under Seller.

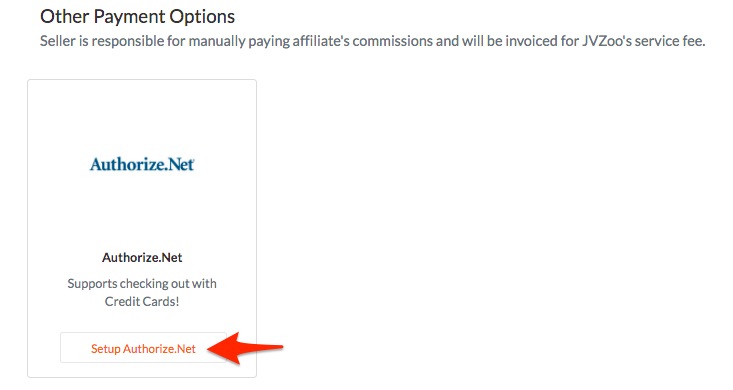
And then click “Setup Authorize.net”

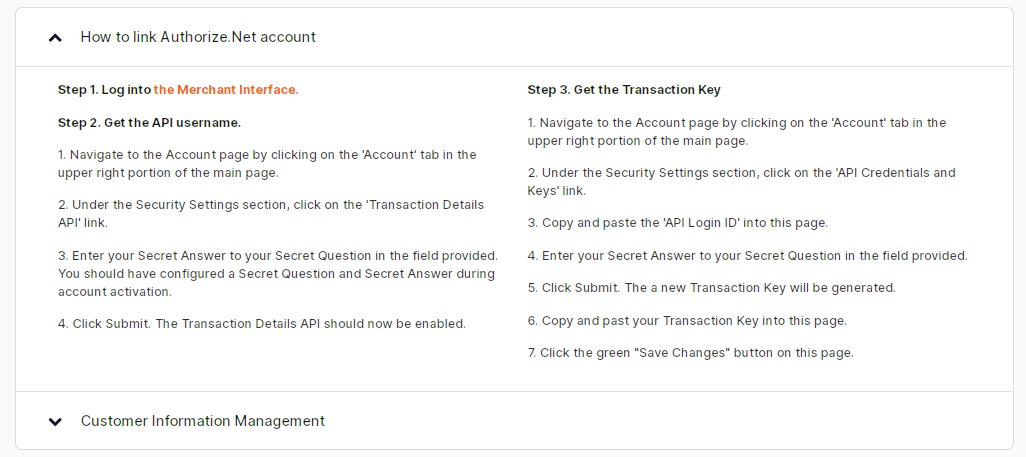
Click the arrow down to expand the section on how to link an Authorize.net account and follow the instructions.

After you have followed the steps and entered your API Login and Transaction Key, click the orange "Save Changes" button.

You will see a message in green that your account has been linked.
Next, you will need to enable this payment processor on your products. You can enable it on all your products by clicking the “Use for all Products” button as shown here:

Or you can set it on specific products by clicking the edit button next to that product and checking the Authorize.net option under the Payment Options section.
If you wish to unlink your account, simply delete your API Login and Transaction key and click the orange "Save Changes" button.
Please note that by selecting this payment option, as the seller you are responsible for manually paying your affiliate's commissions and will be invoiced for JVZoo's service fee.